Trending
Last Chance: Update Your Aadhaar For Free – Here's How To Do It

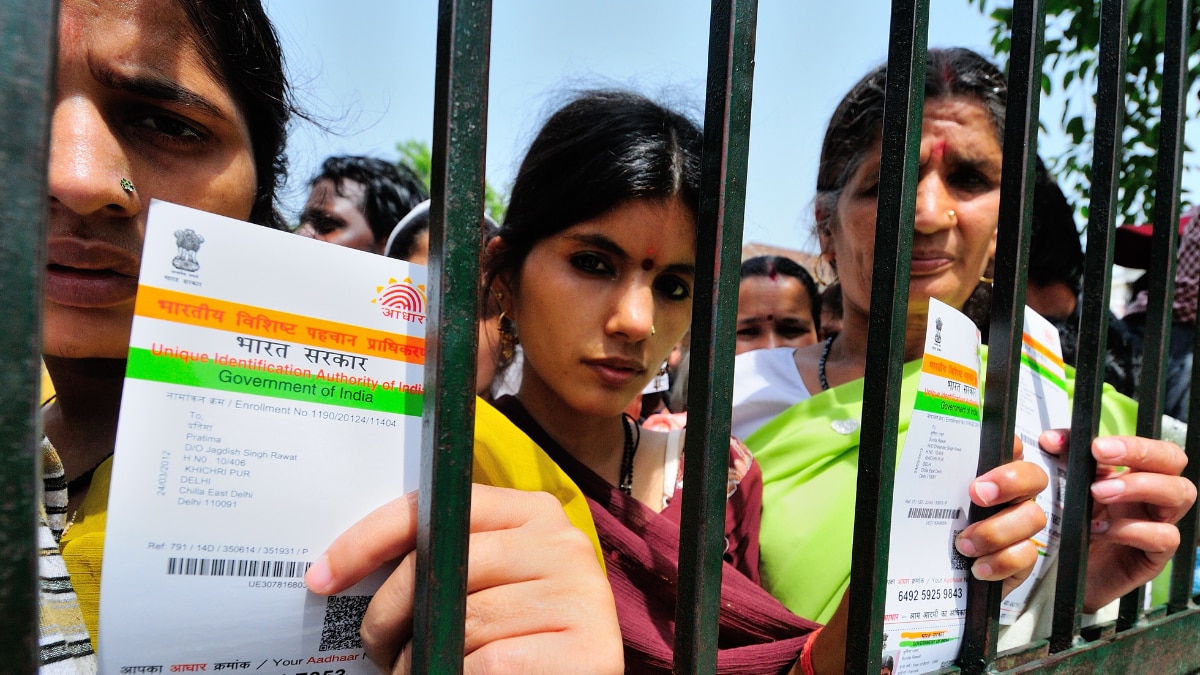
The Unique Identification Authority of India (UIDAI) is urging citizens, especially those who received their Aadhaar cards over ten years ago and haven’t updated their details, to review and update their information. While these updates are not mandatory, the UIDAI has extended the deadline for free Aadhaar updates until December 14, 2024. According to the Aadhaar Enrolment and Update Regulations, 2016, "An Aadhaar number holder may, on completion of every period of 10 years from the date of generation of the Aadhaar number assigned to him, update the documents or the information evidencing proof of identity and proof of address, at least once, by submitting an application.”"Residents who had got their Aadhaar issued 10 years ago, and have never updated after that in these years, such Aadhaar number holders are encouraged to get their documents updated. The Unique Identification Authority of India (UIDAI) earlier issued a press release underlining that it is urging and encouraging residents to keep their documents updated. The recently-issued gazette notification also clearly states that residents "may" do so on completion of every 10 years. Keeping the documents in Aadhaar updated helps in ease of living, better service delivery, and enables accurate authentication. UIDAI has always encouraged residents to keep their documents updated, and the gazette notification is another step in that direction," said a PIB release from November 10, 2022."UIDAI extends free online document upload facility till 14th December 2024; to benefit millions of Aadhaar Number Holders. This free service is available only on myAadhaar portal. UIDAI has been encouraging people to keep documents updated in their Aadhaar." UIDAI posted on social media platform X (formerly Twitter).How To Update Your Aadhaar:Step 1: Visit the myAadhaar portal.Step 2: Click on the ‘Login’ button. Enter your Aadhaar number, complete the captcha, and click ‘Send OTP.’ Enter the OTP received and click ‘Login.’Step 3: Select the ‘Document Update’ option.Step 4: Review the guidelines and click ‘Next.’Step 5: Check the box to confirm that your details are correct, then click ‘Next.’Step 6: Upload your ‘Proof of Identity’ and ‘Proof of Address’ documents, then click ‘Submit.’Once submitted, you will receive a ‘Service Request Number (SRN)’ via email. You can use the SRN to track the status of your document update.

.png)
.png)